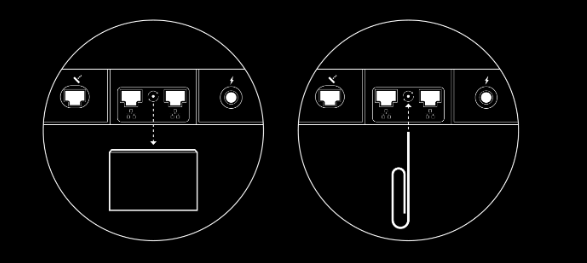
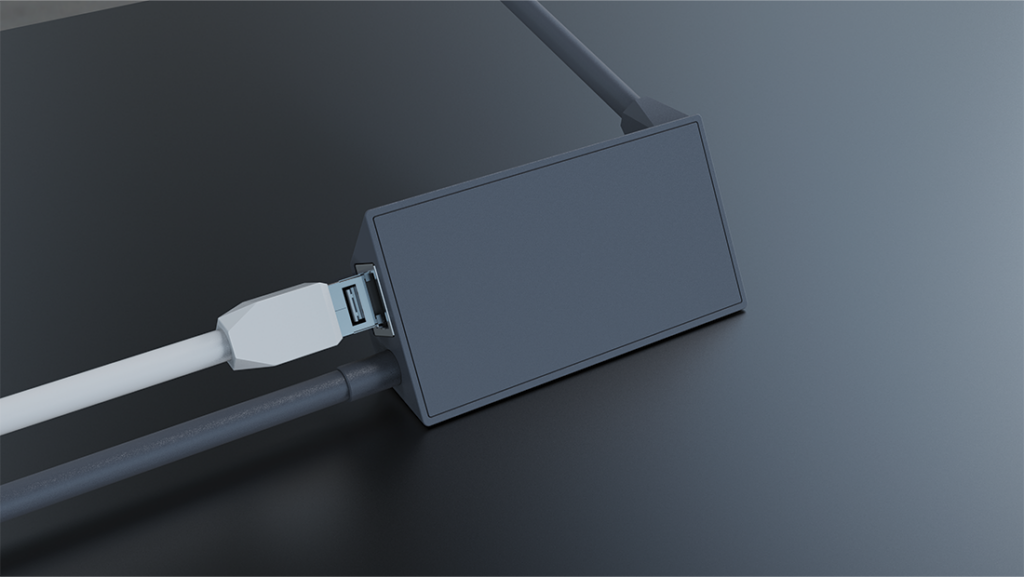
To factory reset the Gen 2 router, you need to power cycle it by quickly unplugging and replugging the power cable six times.
What about Starlink Mini?
The Starlink Mini has built-in Wi-Fi but can also be used with a router of your choice. Thanks to an ethernet output on the dish. You can turn off the Mini’s Wi-Fi with Bypass mode by following the same instructions. To factory reset the Mini, you need to hold a reset button on the back for three seconds.
Starlink is engineered to be an intuitive internet solution that’s fast and easy to set up, with no additional equipment or professional installation required to get online. This approach makes Starlink installations as simple or elaborate as you want to fit your internet needs. There are plenty of benefits to using your own network equipment to get the most out of your Starlink internet.
Better Wi-Fi Signal
The Starlink routers are serviceable devices that provide basic Wi-Fi functionality. All routers do the same thing, but some are built better than others, providing better-quality Wi-Fi signals and more range. If your home is large or has many floors and walls that can interrupt signals, plenty of routers have more powerful signals for faster, more stable connections.
Depending on the optimal spot you install your Starlink dish and with the proprietary cables, it can sometimes be challenging to place the router in an optimal spot in your home, which is typically in the center. Using a third-party router would allow you to run a much longer ethernet cable through your home to place it in the best spot for signal. We have even more tips for optimizing your Wi-Fi.
Advanced Networking
The Starlink router is easy to set up and use immediately but has bare minimum configuration options that advanced users will find lacking. When you run a home or business network that needs more advanced features, many third-party routers have the necessary tools for your networking needs. These features include setting up guest networks, management tools for Wi-Fi mesh networks, and prioritizion of bandwidth for select applications or devices.
Say if you rented out a room or guest house, you could extend your Wi-Fi to it through a mesh device and set up a separate guest Wi-Fi with its own rules and settings that don’t interfere with your personal Wi-Fi. Another example is if you hold frequent video conferences, you can set it up so that whenever Zoom is active, it takes priority over all other traffic for the best video and sound quality. The Starlink router simply can’t do these things.
Security
Security is a crucial feature, especially for those who run a business. The Starlink router has basic Wi-Fi security (WPA2), but other routers have more security features to ensure your network stays safe from bad actors. Third-party routers can come equipped with WPA3, which is a much more secure encryption than what comes with your basic router.
Other security features that Starlink doesn’t have include VPN tools and firewall protocols, blocking any unwanted traffic from infiltrating your network and devices. Setting up security features on the network level ensures all connected devices are protected.
Gaming
If online gaming is your priority, then low latency and eliminating lag are essential. Starlink features the lowest latency of any satellite internet provider, but it’s still imperfect and lags behind traditional wired internet connections. Therefore, you’ll want to optimize your Wi-Fi network for the lowest possible latency.
With the Starlink router, the best way to do this is a direct ethernet connection to your PC or console. However, suppose you prefer a wireless connection or simply can’t make a wired connection. In that case, there are third-party routers that are optimized specifically for online gaming that claim to boost gaming traffic.
Are you a streamer? Then you’re probably running multiple devices and apps through your router, so you’ll want one that can handle all the traffic going in and out. It’s also helpful to have one that has plenty of ethernet outputs. Starlink’s Gen 3 only has two, and the Gen 2 has one with an adapter.

